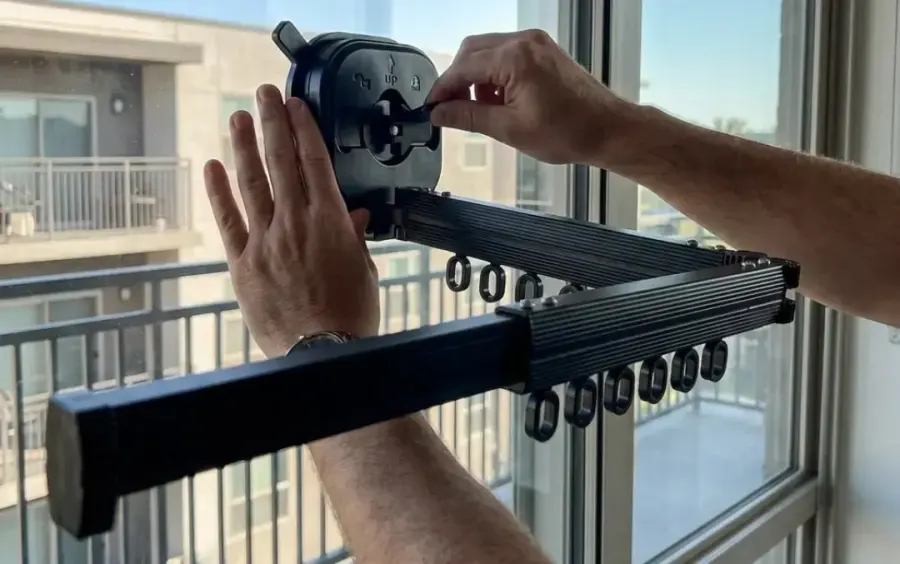
Renting comes with a familiar rule: no holes in the walls. That rules out most wall-mounted drying racks, which is why so many renters live with a floor rack in the living room. But there is a way around it. Here is how to add real drying space to a rental — and get your full deposit back when you move out.
Why drilling is a problem for renters
Many leases restrict or forbid drilling, and even where it is allowed, you are usually expected to patch and paint before you leave. Tile is worse: a cracked or drilled tile is expensive to replace and can come straight out of your deposit. The safest approach is to choose fixtures that leave nothing behind.
Your no-drill options
- Over-the-door racks and hooks — zero installation, but limited space and they can scuff door edges.
- Tension rods — good inside a shower or window frame, but clothes bunch together.
- Adhesive hooks — fine for a light towel, not for a load of wet laundry, and they can pull off paint.
- Vacuum suction-mounted racks — the strongest no-drill option for real drying capacity, and they move with you.
How to mount a suction drying rack so it holds
- Choose the right surfaceGlazed tile, glass, mirrors, metal or sealed laminate. Skip textured plaster, brick, grout lines and flat-painted drywall — they let air leak in.
- Clean and dry the spotWipe away soap film, dust and grease with a little rubbing alcohol or glass cleaner, then let it dry completely.
- Place it flat and lock itCenter the suction cup flat on the surface and engage the lock as the manual describes. A good seal should feel solid with no wiggle.
- Load it evenlySpread heavy items like towels and jeans across both arms instead of piling them on one end.
- Check the seal now and thenTemperature swings and humidity can affect any suction mount over time. A quick check and re-lock keeps it secure.
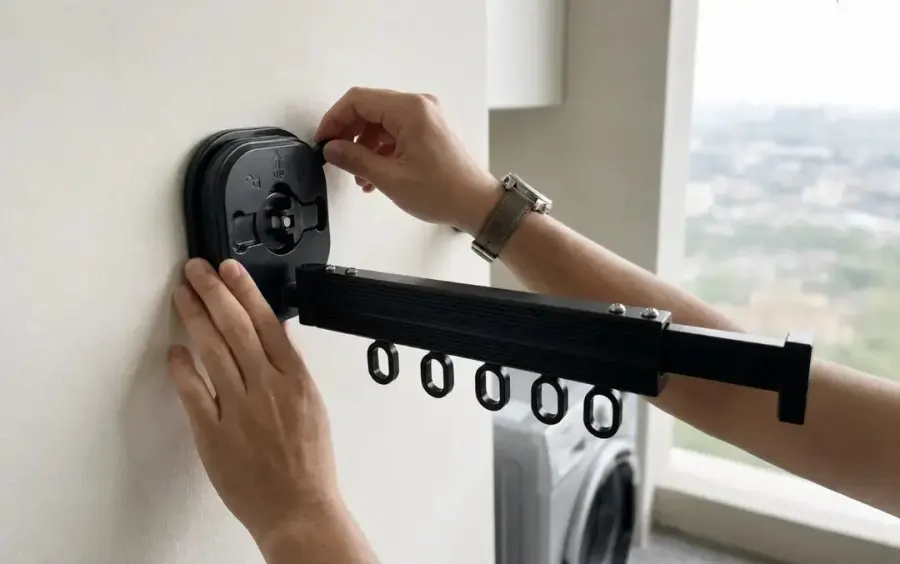
Best spots in a rental
- Bathroom tile — ideal surface, perfect for towels and hand-washed items (keep the fan on).
- Laundry-room tile or cabinets — dry straight out of the washer.
- Balcony glass — sun and fresh air, without a clothesline.
- A large window frame or glass door — bright, airy and easy to reach.
Mistakes to avoid
- Mounting on grout lines or a textured wall, where the seal can’t form.
- Skipping the cleaning step — soap scum is the number-one reason suction cups slip.
- Overloading one arm with heavy, dripping items.
- Using adhesive hooks for heavy laundry and taking paint off when you remove them.
The renter-friendly rack we recommend
The Qinux Hangeroox was built for exactly this situation. It mounts with a powerful vacuum suction cup — no drilling, no holes — and its aluminum arms with an anti-rust treatment extend, fold open wide and rotate so you can use every inch of a bare wall. It folds flat when you are done and comes off in seconds when it is time to move. Andrew, an owner who rents, said it best: “I needed something that wouldn’t damage the walls. It’s been an amazing solution.”
Frequently asked questions
Do suction cup racks really hold wet clothes?
A good vacuum-lock suction mount on a smooth, clean, non-porous surface holds firmly. The keys are the right surface, a clean seal and not overloading the rack. Check the seal from time to time, especially in rooms where temperature and humidity change a lot.
Which walls do suction cups not work on?
Rough or porous surfaces: textured plaster, popcorn finishes, brick, concrete, unsealed wood and most flat-painted drywall. Suction needs an airtight seal, so glazed tile, glass, mirrors, metal and sealed laminate work best.
Will a suction cup damage my wall or tile?
No. A suction cup holds by air pressure, not glue or screws, so it releases cleanly without leaving holes or residue. That is why it is a favorite for rental apartments.